
Introduction
You can find the video version of this article by clicking here.
This article covers self hosting n8n using your own domain. The setup is simplified as it is using docker for the 3 services we will be launching, n8n, nginx (web server) and certbot (generates free Let's Encrypt certificates).
The setup is expandable by adding additional containers, for example you could add a pgvector container to store vectors inside your workflow and later retrieve those vectors for further processing.
For easier setup, add your domain name in the bellow field and click Apply to tailor this article with your domain:
Docker and Compose Setup
We will be launching our containers using Docker which must be installed. It can be installed using the official Docker documentation found here. The steps are as follows:
Set up Docker's apt repository:
# Add Docker's official GPG key:
sudo apt-get update
sudo apt-get install ca-certificates curl
sudo install -m 0755 -d /etc/apt/keyrings
sudo curl -fsSL https://download.docker.com/linux/ubuntu/gpg -o /etc/apt/keyrings/docker.asc
sudo chmod a+r /etc/apt/keyrings/docker.asc

# Add the repository to Apt sources:
echo \
  "deb [arch=$(dpkg --print-architecture) signed-by=/etc/apt/keyrings/docker.asc] https://download.docker.com/linux/ubuntu \
  $(. /etc/os-release && echo "${UBUNTU_CODENAME:-$VERSION_CODENAME}") stable" | \
  sudo tee /etc/apt/sources.list.d/docker.list > /dev/null
sudo apt-get update
Install the Docker packages:
sudo apt-get install docker-ce docker-ce-cli containerd.io docker-buildx-plugin docker-compose-plugin
Now with Docker installed we can create our compose.yml file which will give instructions on which services we'd like to create. I recommend creating a docker directory inside your users home directory and within it include our setup:
cd
mkdir -p docker/n8n && cd docker/n8n
nano compose.yml
Include the following directives inside the compose.yml file:
services:
  nginx:
    image: nginx:latest
    container_name: nginx
    volumes:
      - ./nginx/conf.d:/etc/nginx/conf.d
      - ./certbot/www:/var/www/certbot
      - ./certbot/conf:/etc/letsencrypt
    ports:
      - "80:80"
      - "443:443"
    depends_on:
      - n8n
    restart: always

  certbot:
    image: certbot/certbot
    container_name: certbot
    volumes:
      - ./certbot/www:/var/www/certbot
      - ./certbot/conf:/etc/letsencrypt
    entrypoint: >
      sh -c "trap exit TERM; while :; do
        certbot renew --webroot -w /var/www/certbot --quiet;
        sleep 12h & wait $${!};
      done"

  n8n:
    image: n8nio/n8n
    volumes:
      - n8n_data:/home/node/.n8n
    environment:
      - N8N_HOST=example.com
    restart: always


volumes:
  n8n_data:
Let's breakdown the compose.yml file:
n8n container has a volume which stores our users/credentials and workflows. An environment variable that specifies our domain for n8n to work properly, and the restart option is used to keep the container running by restarting it in case it crashes/stops.
The nginx has 3 volumes, ./nginx/conf.d contains will contain our nginx configuration for serving n8n using our domain securly using ssl, the ./certbot/www volume is shared with the certbot container to complete the SSL acme challenge, and the ./certbot/conf volume is shared with certbot which will contain our SSL certificates once they are generated. Depends on section specifies that nginx depends on n8n, which ensures n8n is running before nginx.
Certbot container has 2 volumes shared with nginx as mentioned above. The entrypoint section is responsible for renewing the SSL certificate by checking its expiry twice a day.
Now we can start nginx and n8n which will create the necessary directories for us by running:
sudo docker compose up nginx -d
Since nginx depends on n8n, the n8n container will automatically start before nginx without mentioning it.
Nginx Initial Configuration
After starting nginx, the necessary directories are created, now we need to add the initial nginx configuration which will enable us to generate SSL certificates by completing an acme challenge using our domain name:
cd nginx/conf.d
sudo nano default.conf
Then add the following directives:
server {
    listen 80;
    server_name example.com;

    location /.well-known/acme-challenge/ {
        root /var/www/certbot;
    }

    location / {
        proxy_pass http://n8n:5678;
        proxy_http_version 1.1;
        proxy_set_header Upgrade $http_upgrade;
        proxy_set_header Connection "upgrade";
        proxy_set_header Host $host;
        proxy_set_header X-Forwarded-For $proxy_add_x_forwarded_for;
        proxy_set_header X-Forwarded-Proto $scheme;
        proxy_buffering off;
    }
}
Now restart the nginx service by running:
sudo docker compose restart nginx
Now if you visit your page over http (http://example.com/) you should see the following page:
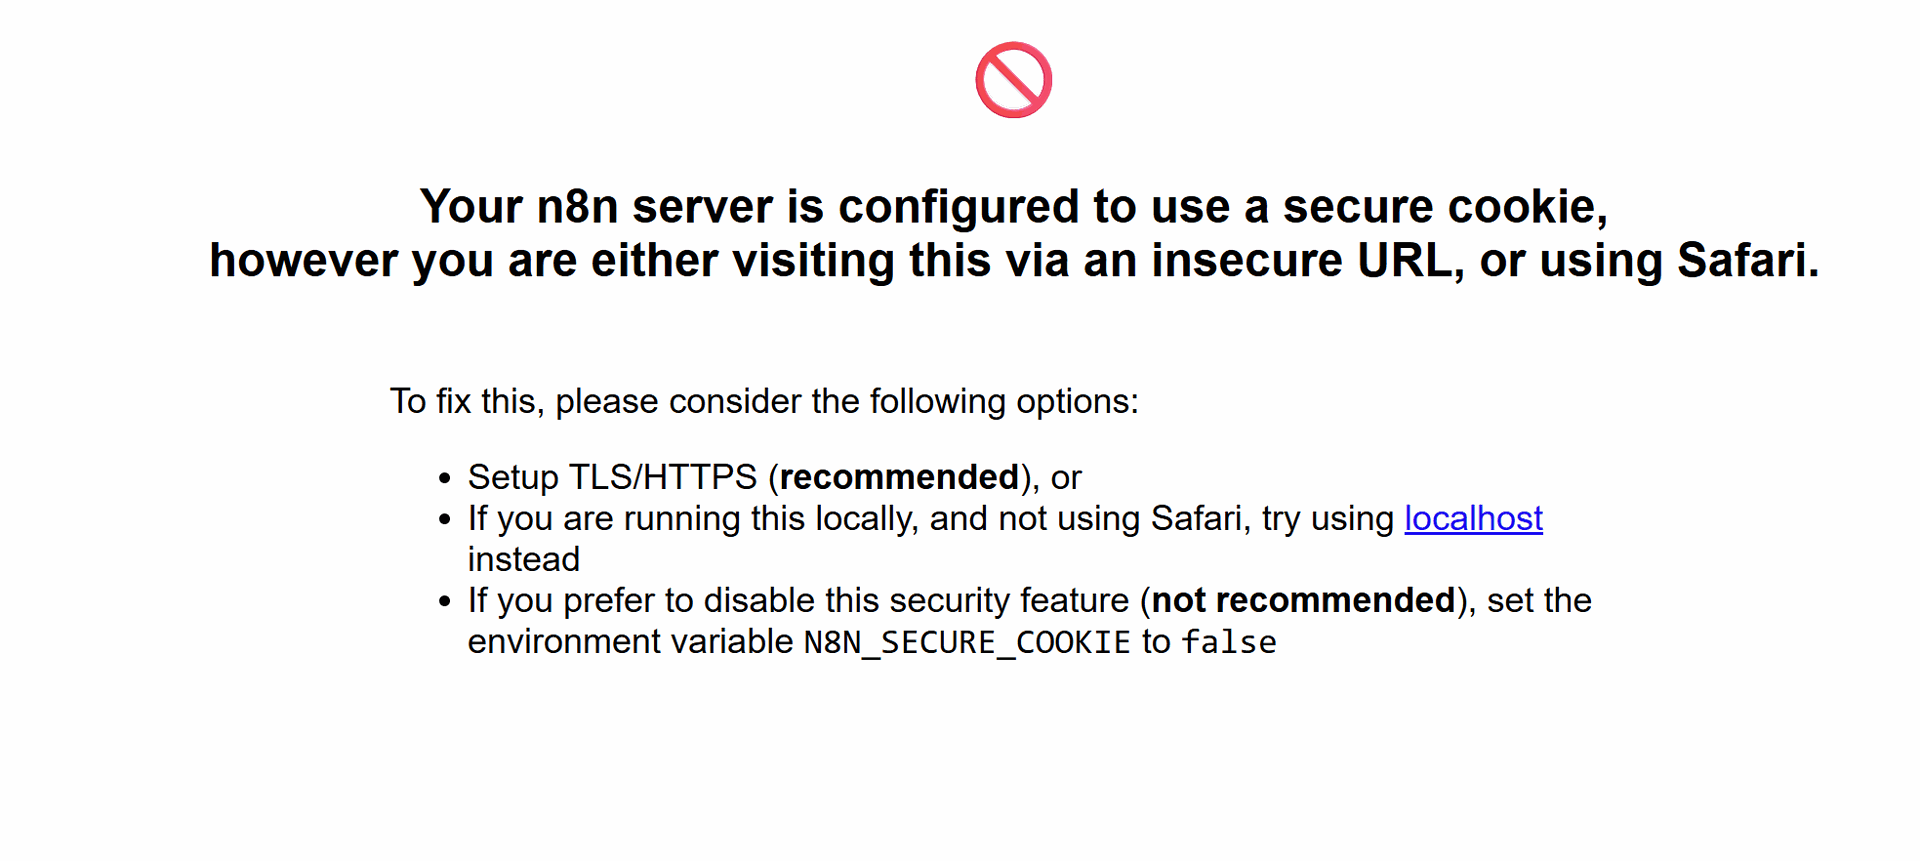
This is completely fine, and we'll fix it after generating and using SSL certificates.
Generating Certificates using Certbot
You'll notice inside our nginx configuration in the previous section that we added a location block for the acme-challenge, now we should be able to generate certificates using the certbot container by running:
sudo docker compose run --rm --entrypoint certbot certbot \
  certonly --webroot -w /var/www/certbot \
  -d example.com
You'll be prompted to accept the terms and services and a few other things after which your certificates will be generated.
Nginx Final Configuration over HTTPS
Now we can add the SSL certificates to our nginx server block and serve traffic over HTTPS. Replace the contents of default.conf with the following:
server {
    listen 80;
    server_name example.com;

    location /.well-known/acme-challenge/ {
        root /var/www/certbot;
    }

    location / {
        return 301 https://$host$request_uri;
    }
}


server {
    listen 443 ssl;
    server_name example.com;


    ssl_certificate /etc/letsencrypt/live/example.com/fullchain.pem;
    ssl_certificate_key /etc/letsencrypt/live/example.com/privkey.pem;

    location / {
        proxy_pass http://n8n:5678;
        proxy_http_version 1.1;
        proxy_set_header Upgrade $http_upgrade;
        proxy_set_header Connection "upgrade";
        proxy_set_header Host $host;
        proxy_set_header X-Forwarded-For $proxy_add_x_forwarded_for;
        proxy_set_header X-Forwarded-Proto $scheme;
        proxy_buffering off;
    }
}
Now restart nginx:
sudo docker compose restart nginx
This will redirect all the unsecure traffic to https.
Now you should be able to access your n8n application by vising the domain example.com, create a user and start building your workflows.
I've created a simple workflow that can monitor your SSL certificate status and send notifications regarding expiry which you can find here.